
Review · LISBON CITY TOURS
Lisbon by Night: Golden and Blue Hour Photography Walk
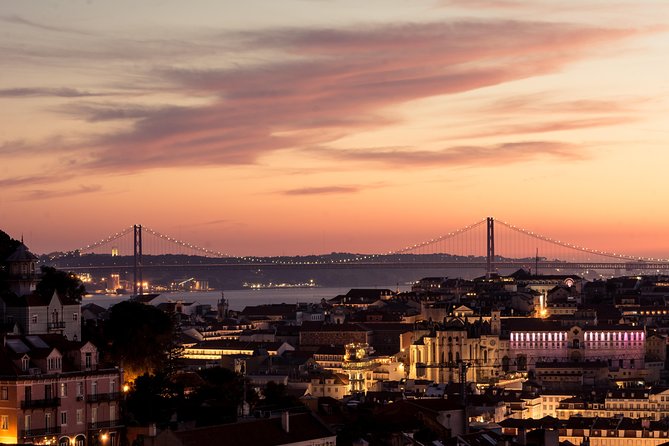
Nightfall turns Lisbon into a light show. This 2-hour golden and blue-hour photography walk is built around timed viewpoints, practical camera guidance, and pro eyes on the city as lamps and trams take over. You start at a high miradouro for sunset, then work your way down through classic photo spots toward the church area at night.
I really like that the tour stays private for you and your group, so you are not stuck fighting for position. I also like the way the guide, Carlos Reveles (Professional Photographer and Guide), blends photography tips with what you are actually seeing, so your photos feel more intentional, not just random snapshots.
One thing to consider: the experience is weather dependent, and a tripod or other equipment is not provided. If rain or wind shows up, you may need to adapt your shooting style, and if the tour is canceled due to poor weather, you’ll be offered another date or a full refund.
Key things I’d pin on your camera bag
- Timed golden hour to night-light route so you shoot the same city as the light changes
- Carlos Reveles as your guide, with photo tips and optional feedback during the walk
- Five major Lisbon viewpoints in about 2 hours, each with time to practice
- Night-focused techniques like long exposures and light painting using vehicle headlights
- No overcrowding, because this is a private tour for your group
- Free access at every stop listed, so you can focus on shooting, not tickets
What You’re Really Paying For With a $171.52 Night Photo Walk
The price, $171.52 per person, looks “special,” but the value is in what you get in those two hours. You are paying for a guided route plus a working photographer who can help you translate Lisbon’s changing light into better settings fast.
This is not a casual stroll with a sightseeing script. The whole point is golden hour, blue hour, and night photography. You spend short bursts at each location, then you move on while the light is still doing what you came for. If you have ever tried to photograph a city at night and ended up with blurry or flat results, this kind of coaching can make a noticeable difference.
Also, because this is private for your group, you get more of the guide’s attention than you would on a large group tour. That matters with photography, where one person’s questions often become everyone’s fixes. One of the nicest touches is the optional photo feedback during the tour, which is the fastest way to correct mistakes on the spot.
You can also read our reviews of more walking tours in Lisbon

Where You Meet, How the Route Feels, and Why the Timing Matters
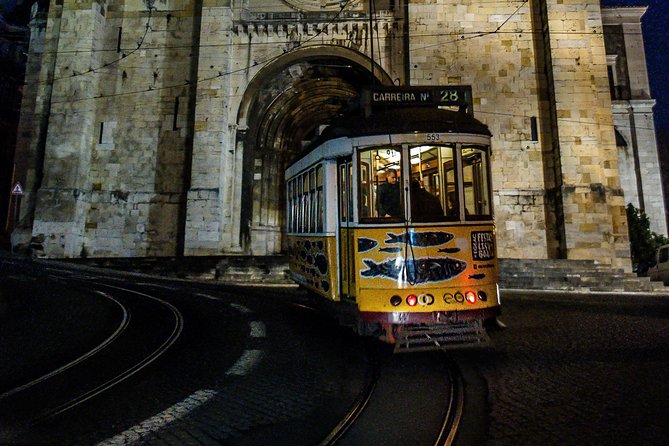
You start at Rua da Senhora do Monte 50, 1170-253 Lisboa and finish at Igreja de Santa Maria Madalena, Largo Madalena 1, 1100-226 Lisboa. The walking is paced for night photography, not endurance. Each listed stop is about 15 minutes, which is short enough to keep the light moving, but long enough to try a couple settings and compositions.
The order is smart. You begin higher up, where sunset turns the city warm and the view is broad enough to show lights forming in layers. Then you step through viewpoints that increasingly favor street texture, trams, and motion. By the time you reach areas meant for long exposures and light trails, it is genuinely night time, not still-half day.
If you are the type who likes a plan but still wants room to wander, this format works well. You get a clear path, plus the chance to shoot what you personally care about: sweeping views, cobblestone detail, or light trails created by traffic.
Stop 1: Miradouro Da Senhora Do Monte for Sunset to River Lamps
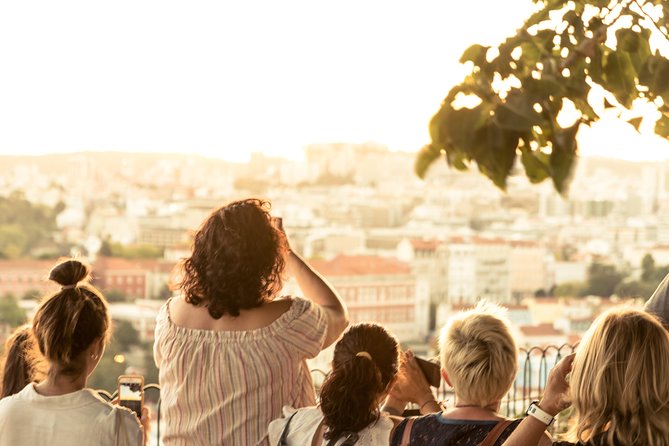
You begin at Miradouro Da Senhora do Monte, where the tour starts with sunset and then shifts toward night as lamps come alive. The goal here is simple: you capture Lisbon’s “before the lights” moment and then follow it as the atmosphere changes.
A big plus of this first stop is that it sets your baseline. Once you learn what your camera can do during golden hour, you can compare it immediately as the sky cools into blue hour. That comparison is often the difference between photos that look like travel pics and photos that feel like a series.
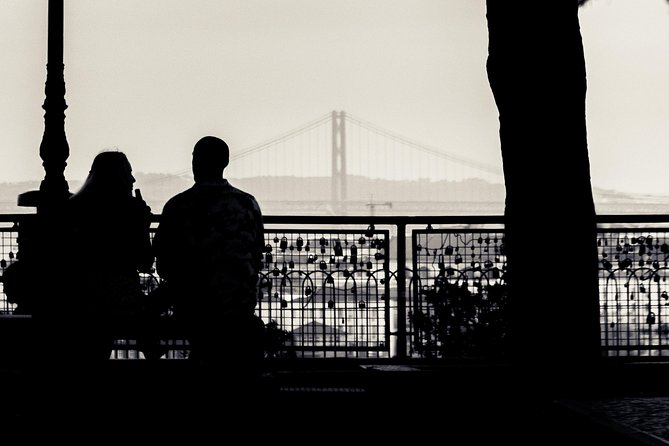
You also get iconic imagery pointing toward the river as night falls. That direction is useful because the view naturally contains multiple light sources, which can help you practice exposure and framing. Even with only about 15 minutes, you can shoot wide views, then do a quick second pass with different exposure settings to see what changes.
Stop 2: Miradouro da Graça for a Cleaner Night View
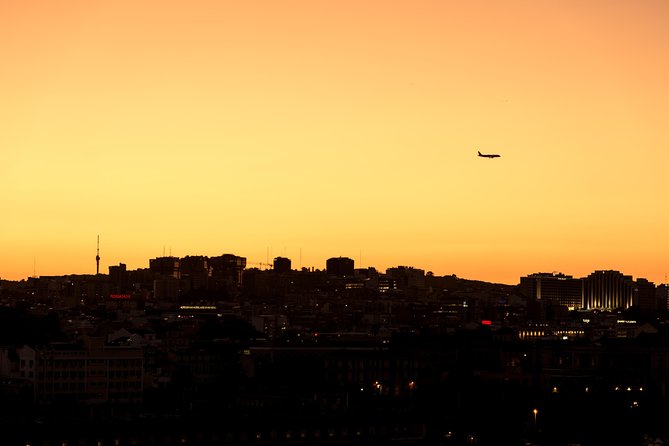
Next is Miradouro da Graça (Sophia de Mello Breyner Andresen). This stop is about the night city look, with a broader nighttime perspective. Compared with the earlier sunset-to-lamps progression, this is more like stabilizing your approach to night shooting: keep the horizon or city lights in a frame and concentrate on exposure consistency.
What I like about using a second viewpoint so soon is that it gives you a chance to adjust. If your first attempts were too bright or too dark, you can fix it here without losing the overall momentum of the tour.
This stop is also a reminder that “night photography” is not just long exposures. It can be a clean, sharp view with careful settings, especially when there are strong points of light in the scene. Even if you do not nail the perfect shot on the first try, this is where you build confidence.
Stop 3: Miradouro Das Portas Do Sol for Cobblestones, Tram Tracks, and Headlights
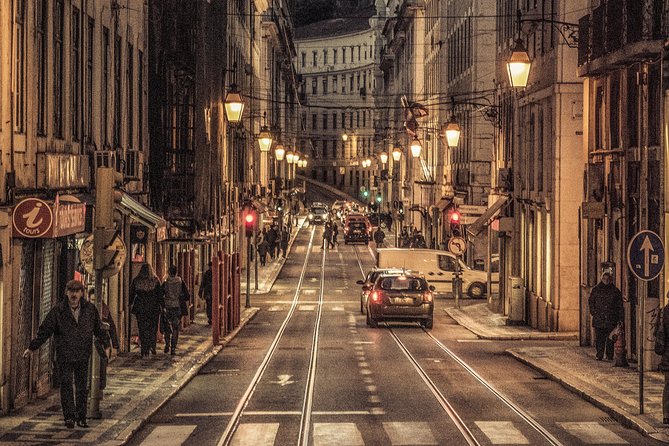
At Miradouro Das Portas Do Sol, the focus tilts toward more ground-level storytelling. The tour aims for shots of cobblestone streets, tram tracks, or vehicle headlights dragging through the frame.
This is where your photos start to feel alive. Rather than only showing Lisbon from above, you capture movement and texture. Headlights trailing, especially, gives you a sense of time passing and direction in a way static lights cannot.
A possible drawback here is practical: tram tracks and street-level motion can be trickier for exposure and focus. If you’re using a smartphone or a compact camera, you may need to experiment quickly. The good news is you have a guide, plus the stop is short, so you can treat it like a controlled practice session.
You can also read our reviews of more evening experiences in Lisbon

Stop 4: Lisbon Cathedral for Long Exposures and Light Painting
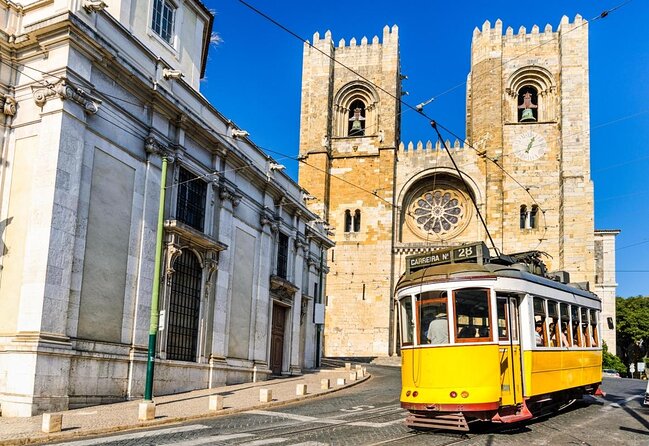
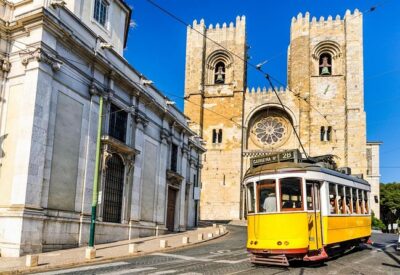
Then you move to Lisbon Cathedral, where the plan explicitly includes long exposures and light painting using vehicle headlights. This is one of the most technique-forward stops on the route.
Why that matters: long exposures are not just about using a slow shutter. It is about timing, composition, and choosing a scene where moving lights create clean lines instead of messy smears. Vehicle headlights are great for this because they provide strong, directional light. With long exposure, they can turn motion into art-like trails.
Light painting in a city also rewards you for thinking about gaps and foreground elements. The cathedral area gives you a strong architectural anchor, which helps your photo feel structured even when the headlights create the motion effect.
One more practical tip you can take from this stop: keep your camera ready. The best trails often depend on small timing windows, and you only have about 15 minutes at this location.
Stop 5: Igreja de Santa Maria Madalena and Rua da Conceição Light Trails
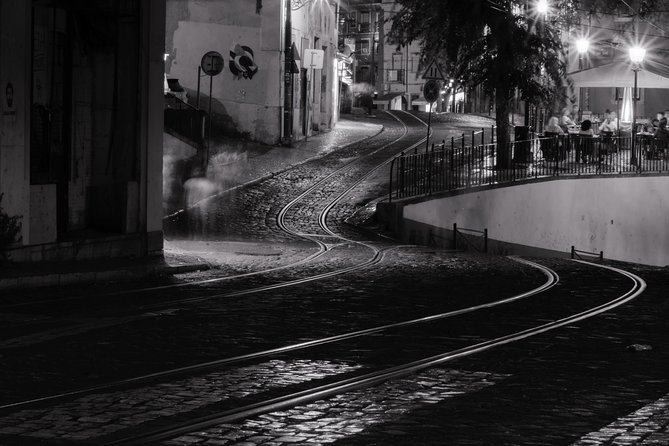
You end at Igreja de Santa Maria Madalena. Right before finishing, the route also includes shots along Rua da Conceição, with trams and light trails.
This closing stretch is ideal for tying the whole walk together. By the end, you have already shot wide views at sunset and early night, then practiced street and motion compositions. Ending near Rua da Conceição gives you a final chance to capture the city in motion, with trams adding their own visual rhythm.
It is also a nice way to wrap up because the ending location is a clear destination point, so you can reorient quickly. Once the tour ends, you are not left guessing where to go next, which is a real benefit at night.
Photo Tips You’ll Actually Use During Golden Hour to Blue Hour
The tour includes tips for capturing golden hour, blue hour, and night photography. In practice, that usually means you are getting help with how to set your camera for changing light, not just where to stand.
Here are the kinds of guidance that fit this specific route:
- How to adjust exposure as Lisbon shifts from warm sunset to cooler blue hour
- How to think about long exposures for light trails, especially with traffic headlights
- How to compose so moving lights help the photo rather than overwhelm it
- How to shoot quickly enough at each stop, since each location is timed around the light
One of the best things about a guide like Carlos Reveles is that he can steer you toward shots that match your gear. The tour does not include a tripod or other photography equipment, so you should plan to work with what you have. If you have a tripod, you can bring it. If you do not, you can still get good results by using stable surfaces or finding ways to brace your camera.
Carlos Reveles, and Why the Guide Choice Matters at Night
This tour is led by Carlos Reveles, a Professional Photographer and Guide. What stands out in the way this experience is run is not only the technical photography aspect. It is the explanation of what you are looking at.
When someone connects the visuals to the place, your photos often improve because you stop shooting on autopilot. You start making choices: where the frame should lead, what should be bright, and what movement should mean.
The same applies if the weather is not cooperating. One of the strongest points from the experience is the guide’s willingness to keep the session moving and even offer a chance to reschedule when conditions make the planned shooting harder. Night photography is sensitive, so that kind of flexibility matters.
What to Bring (and What Not to Worry About)
You are not provided with a tripod or other equipment, and there are no portrait sessions. So the smart approach is to bring a camera you can shoot with in low light, plus any accessories you already own that help with stability.
At minimum, bring:
- Your camera or smartphone
- A charged battery (night drains power faster than daylight)
- A way to keep warm, since you will be outside near viewpoints
- Optional, if you have it: a small tripod or compact stability tool
You also do not need to worry about admission costs at the listed viewpoints, since each stop is noted as free. You will mainly spend your energy on shooting and following the route.
Weather Is Part of the Deal, Not an Afterthought
This experience requires good weather. That is not a small detail. At night, fog, heavy rain, or strong wind can change what your camera can do and whether light trails look clean.
The good news is that the tour has a weather response plan: if it is canceled due to poor weather, you can get a different date or a full refund. And if conditions are merely unpleasant, the guide may still try to keep the walk productive.
My advice: dress for real night conditions, not just evening temperatures. Bring a layer you can move in, and keep your camera protected so you can keep shooting when the moment is right.
Who This Tour Fits Best
This is a great fit if:
- You want your Lisbon photos to look more like a project than a scrapbook
- You enjoy photography tips and want to practice settings quickly
- You prefer a paced route with specific viewpoints timed for light changes
- You want private attention rather than a crowded group environment
It might be less ideal if:
- You expect a long sit-down lesson. This tour is more practice and short stops
- You want hotel pickup or a fully handled end-to-end itinerary. That is not included
If you are traveling solo, you might still enjoy the private format if you are comfortable with a group of your size and a guide who keeps things moving. If you are traveling with friends who care about photos, it becomes a fun shared goal.
Should You Book Lisbon by Night: Golden and Blue Hour Photography Walk?
Book it if you want to turn Lisbon’s night lights into images with intent. The combination of a pro photographer guide (Carlos Reveles), a route built around changing light, and technique-focused stops like long exposures and light painting with vehicle headlights is a strong match for people who care about photography outcomes.
Skip it or choose carefully if you do not have any control over your schedule and weather is a big concern for you. Since it depends on good conditions, you may want travel days with flexibility.
If you do have a flexible night and you are willing to learn by shooting, this walk is excellent value for two reasons: you get guided locations that are made for the effect you want, and you get coaching so you can actually use those locations.
More Evening Experiences in Lisbon
More Walking Tours in Lisbon
More Tour Reviews in Lisbon
Not for you? Here's more nearby things to do in Lisbon we have reviewed





Lisbon City Tours, side by side.
 ★ 5.0Lisbon City Center Tour – The Unmissable LisbonTickets from $322,234 traveller reviews
 ★ 4.7Sintra, Pena, Regaleira, Cabo da Roca & CascaisTickets from $2319,656 traveller reviews
 ★ 4.1Jerónimos Monastery Entrance TicketTickets from $2114,164 traveller reviews
 ★ 4.8History, Stories and Lifestyle Walking TourTickets from $2910,902 traveller reviews
 ★ 4.5Sunset Boat Party Cruise with DJ and Open BarTickets from $2710,378 traveller reviews
 ★ 4.7Pena Palace, Sintra, Cabo da Roca, & Cascais DaytripTickets from $919,981 traveller reviews
 ★ 4.6Oceanário de Lisboa Entrance TicketTickets from $299,943 traveller reviews
 ★ 5.0True 4Hour Private Tuk Tuk Tour: Discover Lisbon with a Local!Tickets from $1088,008 traveller reviews
More useful lists for this tour